
Image Subtraction to Isolate ‘Pure’ Fluorescence
Fluorescence imaging is best done in complete darkness, or at least when it is dark enough that the contribution of ambient light is so low that it is effectively completely underexposed. Sometimes that is not practical. It is not always a bad thing to have some non-fluorescent background as that can give context to an image in which fluorescence manifests as isolated bright areas in a dark background. This can be an artistic, scientific, or just practical choice. But what if you do want to isolate the fluorescence? Image subtraction is one way to do this.
There is a technique for taking ‘pure’ fluorescence photographs in the presence of ambient light involving the use of electronic flash, but that is not applicable to many photographic situations. And even in those cases the ambient light is not always completely absent from the image.
The idea behind the subtraction method is simple:
- Take the best fluorescence image you can with the lighting circumstances and fluorescence imaging equipment you have at hand.
- Take a second image with everything exactly the same (barrier filter in place, exposure conditions, etc.) but with the fluorescence excitation source turned off.
- Ideally this will be done with your apparatus all mounted in fixed positions so that the images are of exactly the same area. If not you will need to align the images in post-processing.
- Post-process the two images to subtract the image made with the excitation light source OFF from the one made with that light source ON. The difference between the images is the fluorescence alone.
There any number of ways to do the image post-processing. In the past we have done this with MATLAB, but it could also be done with other image processing tools such as ImageJ. Here we present a simple method using Adobe Photoshop (version used – Photoshop CC 2018 v. 19.1.3). As an illustration of the method we are using fluorescence images of a 17th Century Indian painting made with a Keyence model VHX-6000 digital microscope equipped with the VH-ZST lens and the NIGHTSEA fluorescence adaptation kit. The images were made at the Straus Conservation Laboratory at the Harvard Art Museum. (Learn more at this link – Conservation and Fluorescence.)
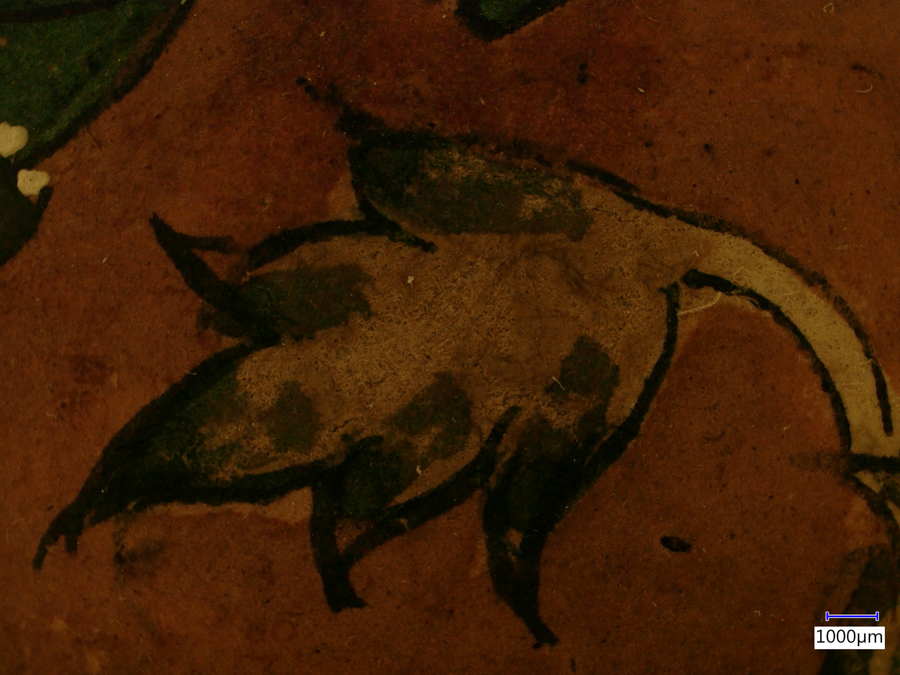
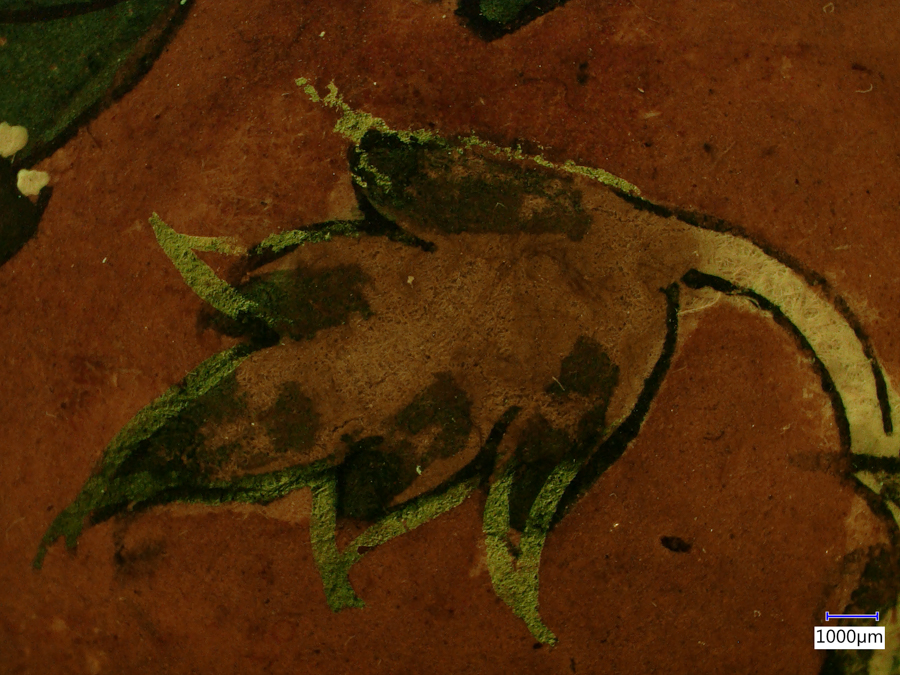
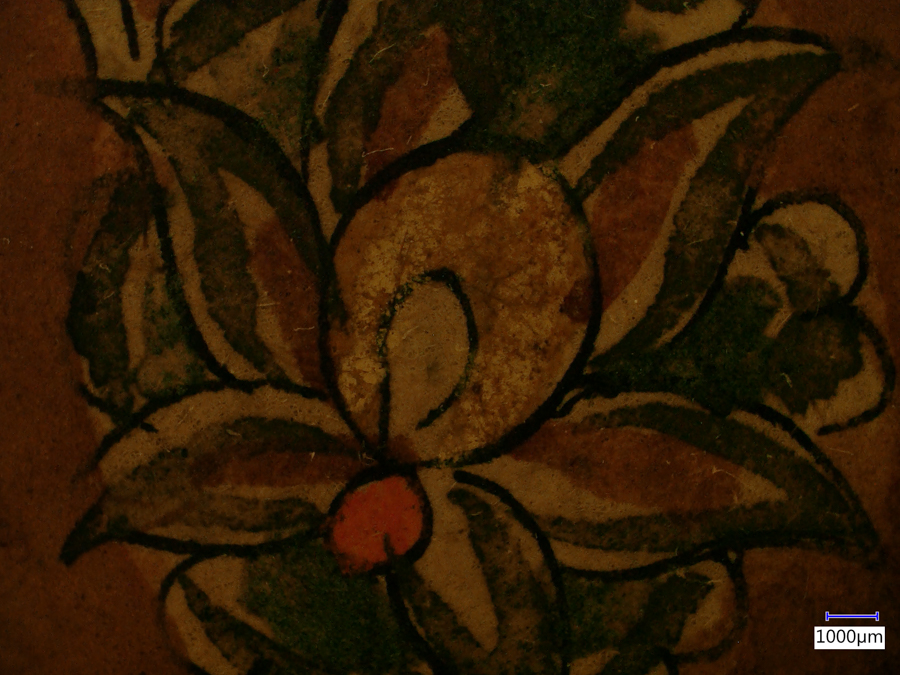
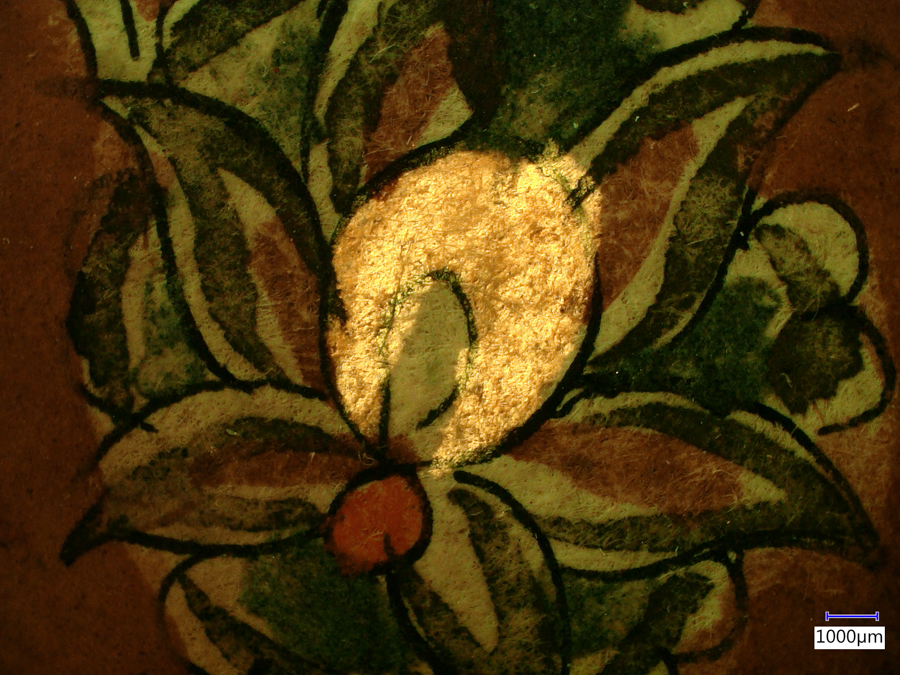
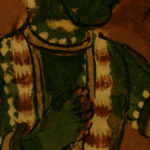
The microscope was in a fairly bright room and the ambient light contributed to the final image. Here are the original images, ambient light only on the left, ambient light plus fluorescence on the right. The only difference in making the images is whether the excitation source was OFF (left) or ON.
All images of the painting © President and Fellows of Harvard College
(Click any image for larger view)
-
- Detail of 17th century Indian painting, ambient light. #1960.53
-
- Detail of 17th century Indian painting, ambient light plus fluorescence. #1960.53
We imported the two images as Layers into a single Photoshop file. This can be done by importing them separately, then copying one and pasting it into the other as a New Layer, or by using File > Scripts > Load Files into Stack… . Make the layer with fluorescence the top layer and make it the active layer.

Two images loaded into Photoshop
In the Layers panel, change the Blending Mode from Normal to Difference. The display will now show the subtracted image.
-
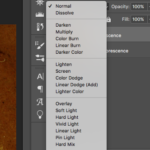
- Photoshop Layers pane with Blending Mode drop-down

-
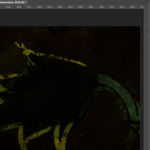
- Subtracted image with top layer Blending Mode set to Difference

To save the Difference image as a new layer, press Command-Option-Shift-E (Mac) or Ctrl-Alt-Shift-E (PC).

Photoshop layers pane showing new layer with the Difference image
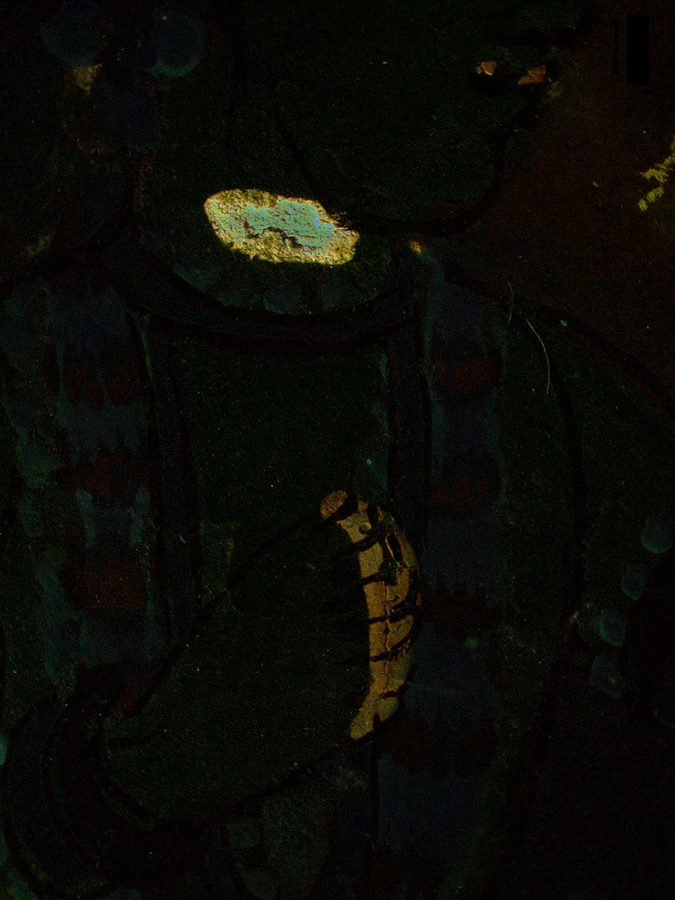
And there you have it. The final result is shown here for three examples.
-
- Detail of 17th century Indian painting, ambient light. #1960.53
-
- Detail of 17th century Indian painting, ambient light plus fluorescence. #1960.53
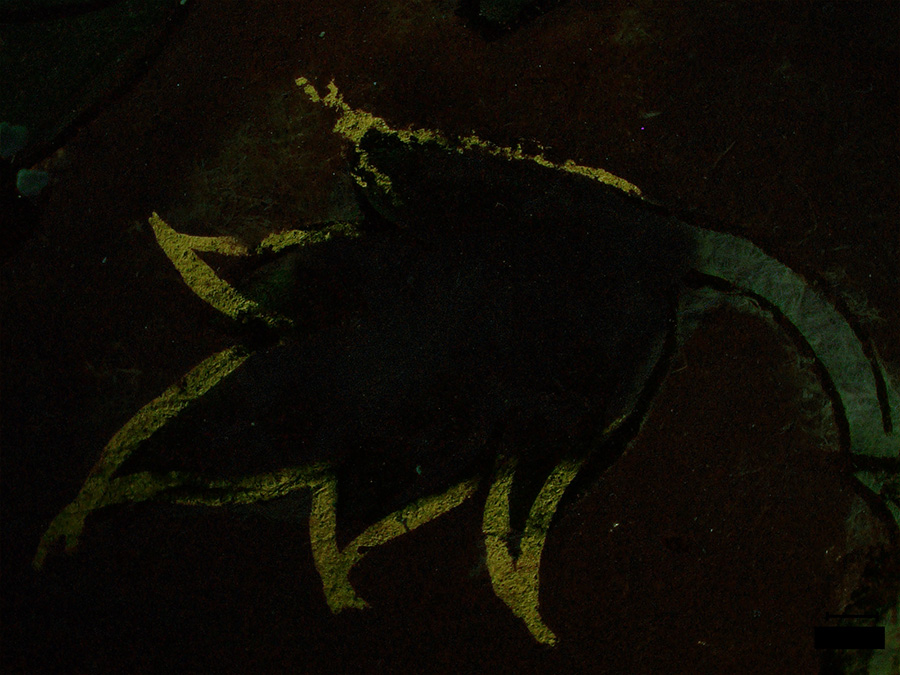
-
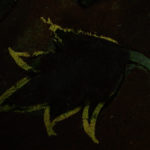
- Detail of 17th century Indian painting, fluorescence only. #1960.53
-
- Detail of 17th century Indian painting, ambient light. #1960.53
-
- Detail of 17th century Indian painting, ambient light plus fluorescence. #1960.53
-
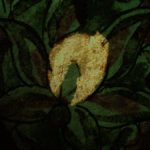
- Detail of 17th century Indian painting, fluorescence only. #1960.53

-
- Detail of 17th century Indian painting, ambient light. #1960.53

-

- Detail of 17th century Indian painting, ambient light plus fluorescence. #1960.53

-
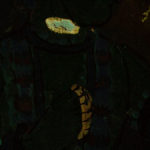
- Detail of 17th century Indian painting, fluorescence only. #1960.53
Subject for these examples:
-
- Accession #1960.53. Krishna Receives Homage from a Prince: Possibly From a Bhagavata Purana Series. Ink, opaque watercolor and gold on paper. Unknown Artist, 17th century. Harvard Art Museums/Arthur M. Sackler Museum, Gift of John Goelet.