
Oilfield Geology and Fluorescence
Fluorescence is an important tool for oilfield geology work. The images on this page were shared by Preston Price of Price Geo Consulting, LLC. Consulting geologists like Preston travel to the oilfield and analyze the rock cuttings collected, typically at 10′ intervals, from wells being drilled, to provide a report on the mineral makeup and the presence of hydrocarbons. To do this they observe the samples under a stereo microscope with reflected white light and Ultraviolet-induced fluorescence.
Preston describes the work:
The purpose of this procedure is to describe the lithology, mineral components, texture, fossil identification, color, sorting, and to confirm the presence of hydrocarbons. Drill cuttings containing hydrocarbons typically exhibit a light pale yellow to aqua colored fluorescence.
A sample that is thought to contain hydrocarbons is placed in a spot plate where a solvent will be dropped on the sample. If the sample does indeed contain hydrocarbons, the fluorescence will be pulled out of the rock and into the solvent. This is called the “cut test”. A good cut test would be when all of the fluorescence in a rock is pulled out in to the solvent, leaving the rock sample with no fluorescence. The cut test also provides qualitative information regarding the rock’s permeability and porosity, depending upon how quickly the hydrocarbons get pulled in to the solvent. A sample that has no fluorescence in the solvent is considered non-hydrocarbon bearing and the fluorescence observed is likely caused by minerals such as calcite and anhydrite.
Until recently Preston had been using a classic tool called the Corvascope, a packaged system containing a stereo microscope head mounted in a box, with both white and UV light sources. This is an old system, and the UV sources were two small tube-type UV lamps. He acquired a Leica S9D Stereo Microscope and outfitted it with the NIGHTSEA Stereo Microscope Fluorescence Adapter with UV and White lights, allowing for simple switching between them using the NIGHTSEA Switch Box Kit.
Preston comments:
Using NIGHTSEA’s UV light source, this procedure has become exponentially more efficient as the strength of the light allows for better identification of the color and presence of fluorescence. This is extremely beneficial as we are often times observing samples in harsh, well lit environments. Previous UV light equipment that was used, such as a Corvascope, would need a blacked out or dark room to properly view the samples. Even in the best conditions, this equipment did not reveal the characteristics of the samples that are visible using NIGHTSEA’s UV light. After looking at quite a few samples I believe that this light source helps tremendously with distinguishing mineral fluorescence to hydrocarbon fluorescence. It also enables me to see the fossils in the samples even better than in white light, which was not possible using a Corvascope.
The images below were made with a Leica S9D Stereo Microscope outfitted with NIGHTSEA UV and White lights as described above. Put your mouse over an image and move left/right to control the slider to compare white light and fluorescence. The notes under each images are the geologist’s interpretation of what is found in the cuttings. The sequence for items in the notes is: Lithology, texture, color, fossils, minerals, and shows.


Notes – 3070-3080′ – sandstone: quartz, very fine grain, sub rounded, moderately sorted, friable, tan to buff, and shale: red, odor, 10% bright fluorescence, good cut (instant bloom), show of oil


Notes – 3140-3150′ – limestone: grainstone, oolitic, buff to tan, odor, 50% bright fluorescence, good cut (instant stream), show of oil


Notes – 3150-3160′ – limestone: grainstone, micro frac, oolitic, buff to tan, cement, brown, and siltstone: green, light gray, odor, 50% bright fluorescence, good cut, show of oil

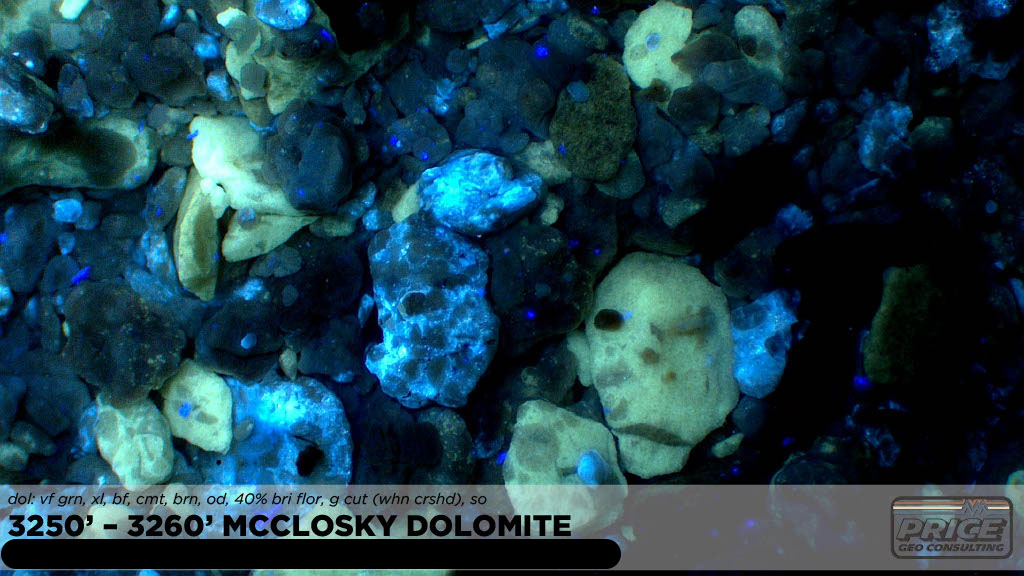
Notes – 3250-3260′ – dolomite: very fine grain, crystalline, buff, cement, brown, odor, 40% bright fluorescence, good cut (when crushed), show of oil
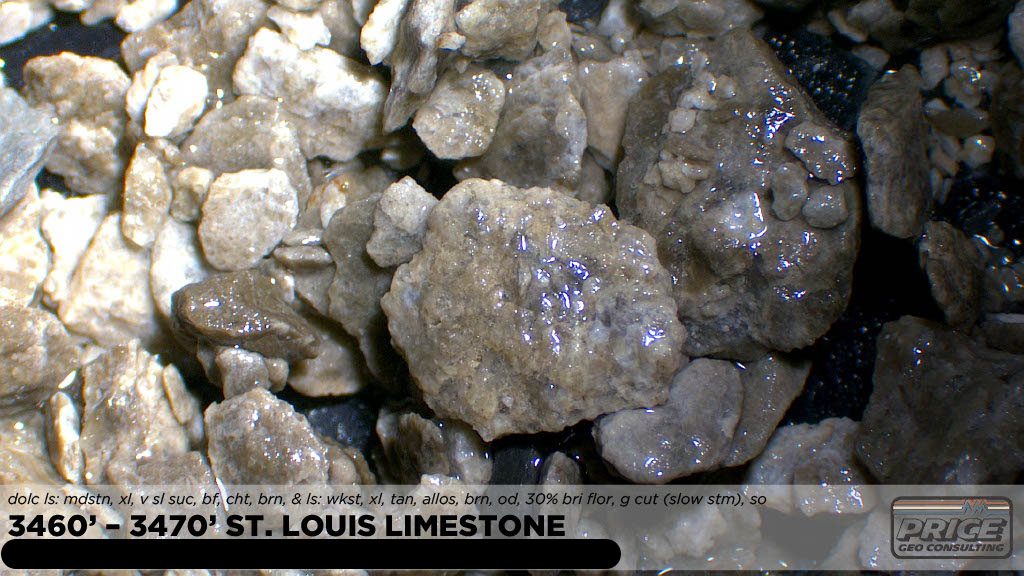

Notes – 3460-3470′ dolomitic limestone: mudstone, crystalline, very slightly sucrosic, buff, chert, brown; and limestone: wackestone, crystalline, tan, allochems, brown, odor, 30% bright fluorescence, good cut (slow stream), show of oil


Notes – 3890-3900′ limestone: mudstone, sparite, brown to tan, & limestone: packstone, crystalline, tan, pellet, roll calcite, micro frac, 10% bright fluorescence, good cut (when crushed), show of oil
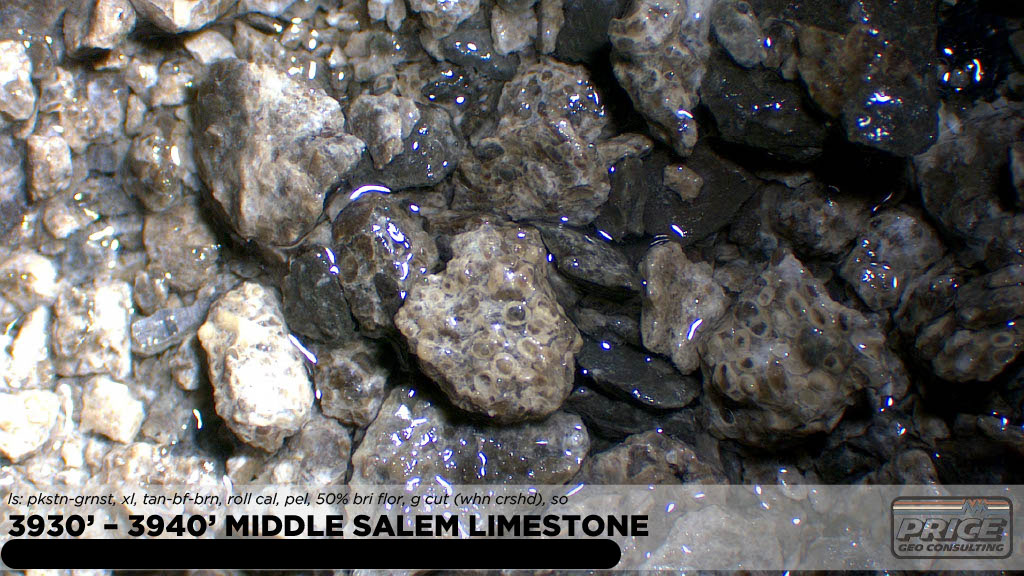

Notes – 3930-3940′ limestone: packstone to grainstone, crystalline, tan to buff to brown, roll calcite, pellet, 50% bright fluorescence, good cut (when crushed), show of oil


Notes – 4060-4070′ limestone: wackestone, sparite, buff to tan, allochems, pellet, odor, 30% bright fluorescence, good cut (when crushed), show of oil